In this article, we will show you how to do single and double underlines in Excel. We will apply the underlines for both general purpose and accounting purposes.
1. Single Underline in Excel
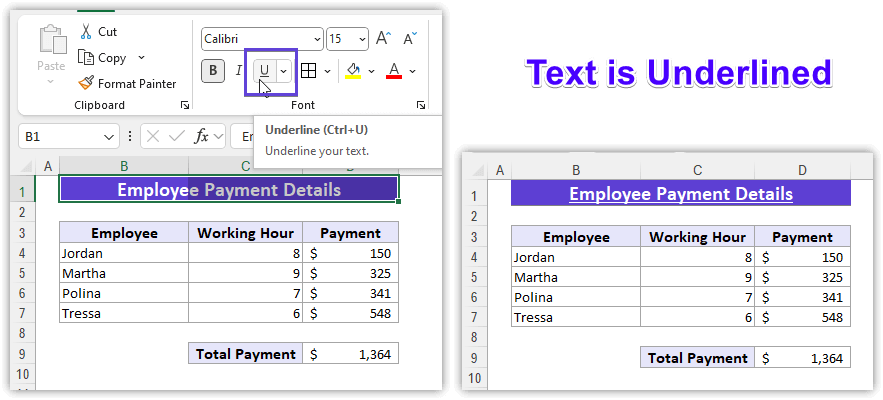
- Select a single or multiple cells you want to underline.
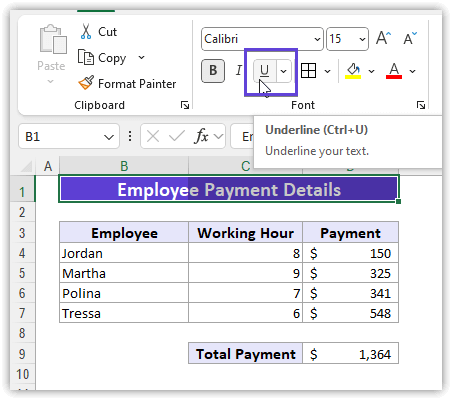
- Click on the U icon from the Font group.
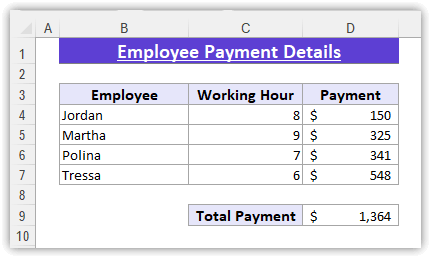
- Get the selected cells with a single underline.
📓Note:: Keyboard shortcut to single underline - Ctrl + U.
2. Double Underline in Excel
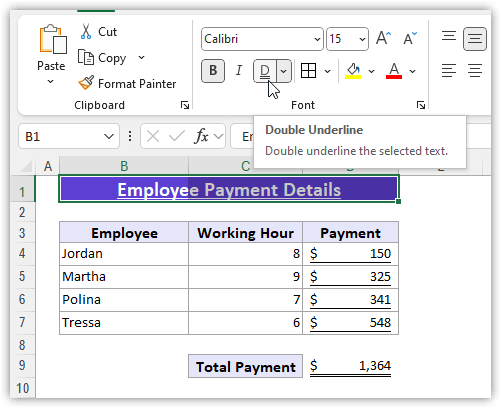
- To add a double underline, click on the Double Underline command.
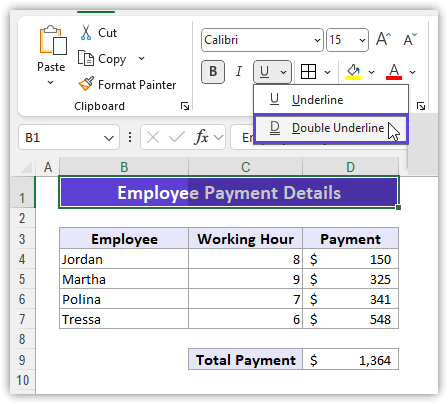
- Get the selected cells with a double underline.
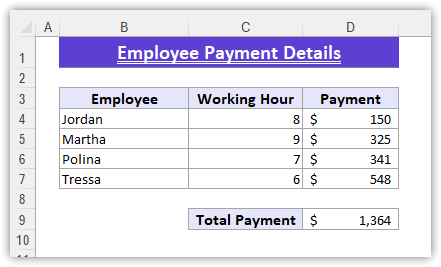
3. Single Accounting Underline in Excel
There is a difference between Underline and Accounting Underline. In Accounting Underline, the cells get extended at the most, not only the existing text or data. Preferably, this type of underline is used for Number values.
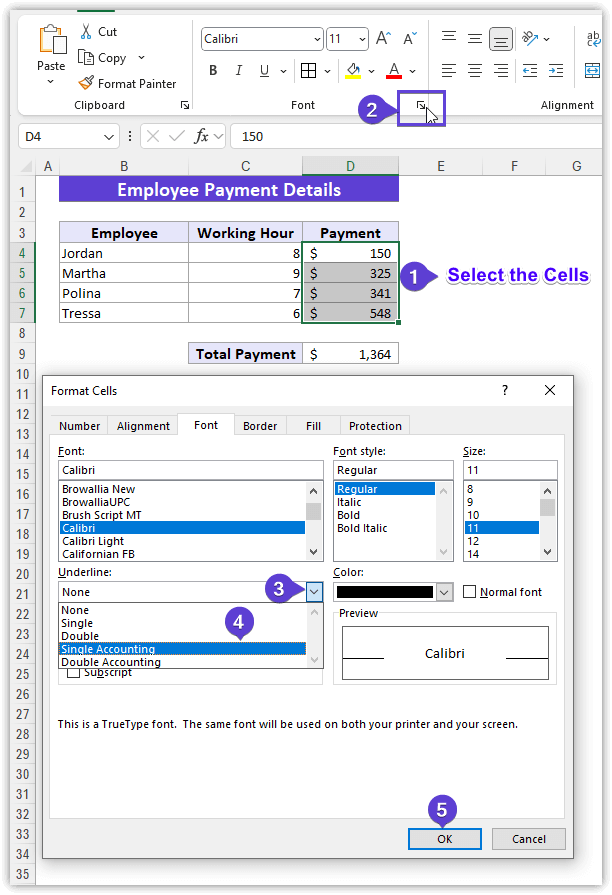
- Select a single or multiple cells you want to underline.
- Select the small marked icon in the bottom right corner of the Font group.
- From the Format Cells dialog box, click on the drop-down icon of the Underline section.
- Select the Single Accounting option.
- Click OK.
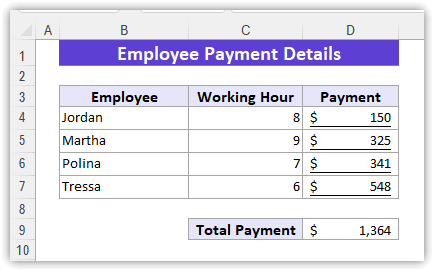
- Get the selected cells with a single accounting underline.
📓Note:: Keyboard shortcut to open Format Cells Font tab - Ctrl + Shift + F.
4. Double Accounting Underline in Excel
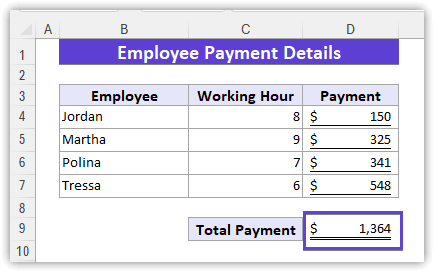
- For applying double accounting underline in Excel, follow the same procedures as the single accounting underline with just one modification. Select Double Accounting from the Underline section.
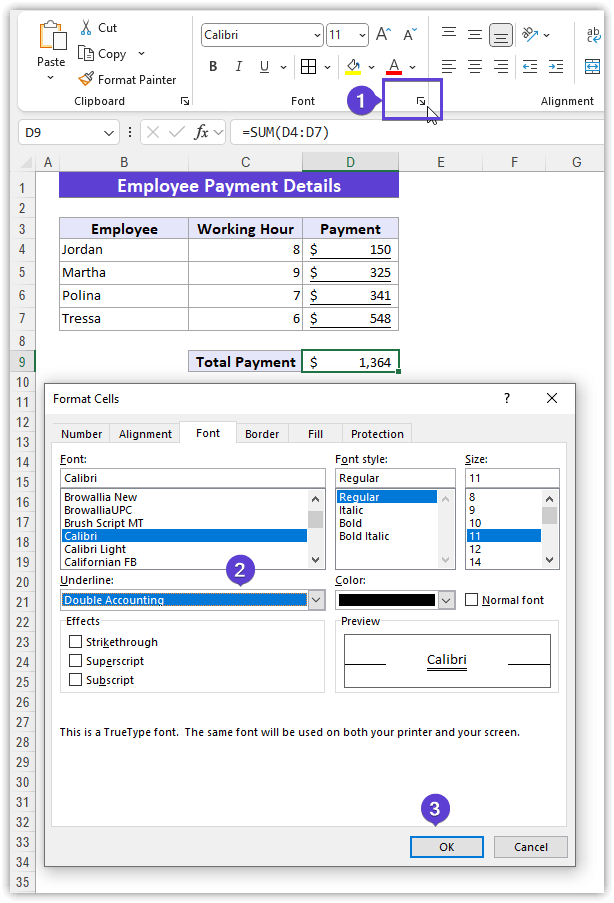
- Get the selected cells with a double accounting underline.
5. Remove Underline in Excel
To remove the applied underlines, click on the underline icon again. Your underline will be removed from all the selected cells.
Therefore, we hope you have understood how to add and underline in Excel for two different purposes. If you have any queries, please contact us or leave a comment.