In this blog post, we will show you, how to wrap text and add line breaks in Excel. Besides, we will discuss some of the reasons for the wrap text not working in Excel and provide possible solutions to fix the issue.
When you have a longer text to display in a single cell, you may increase the column width. However, it is not wise and efficient to use it when you have a large amount of data in a spreadsheet. So, wrapping text is a smarter choice to display the text in a single cell. Microsoft Excel offers some easy-to-go ways to wrap text in Excel.
What Is Wrap Text in Excel?
When the data in a cell is too large to fit in a single cell, two things may happen:
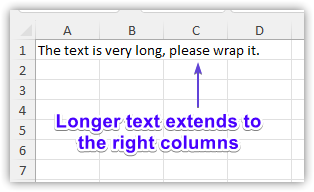
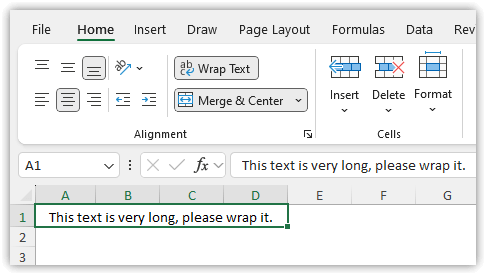
1. If the columns right to the cell are empty, the text goes over the next columns crossing the cell border.
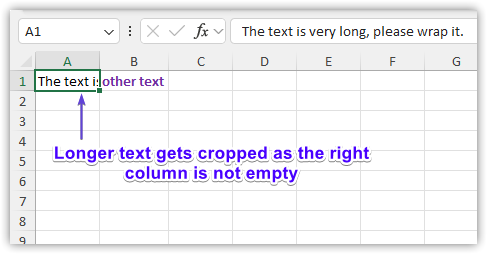
2. If the column right to the cell is not empty, the text gets cropped at the cell border.
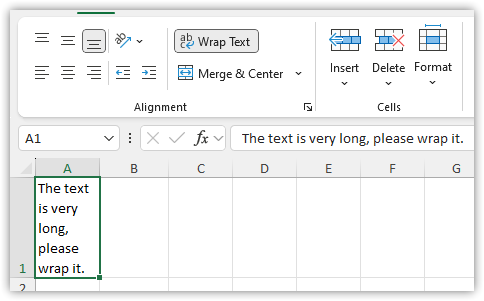
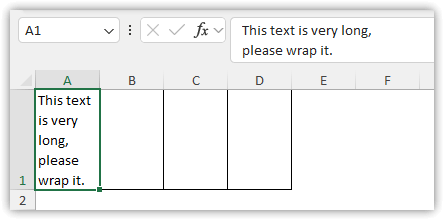
Wrapping text means making sure all the text fits within one cell. Instead of showing it all in one line, it spreads the text out over multiple lines. This makes it easier to see and read.

How to Wrap Text in Excel
In Excel, there are four ways to wrap text in a cell. You can use a shortcut on your keyboard, use the Wrap Text command, use the Format Cell box, or manually add a line break to wrap your text.
So, go through all the methods below to learn how to do it.
1. Keyboard Shortcut to Wrap Text
- The easiest way to wrap text is to use the keyboard shortcut Alt + H + W.
2. Wrap Text from Ribbon
- Go to the Home tab.
- From the Alignment group, click on the Wrap Text button.

3. Use the Format Cells Dialog box to Wrap the Text
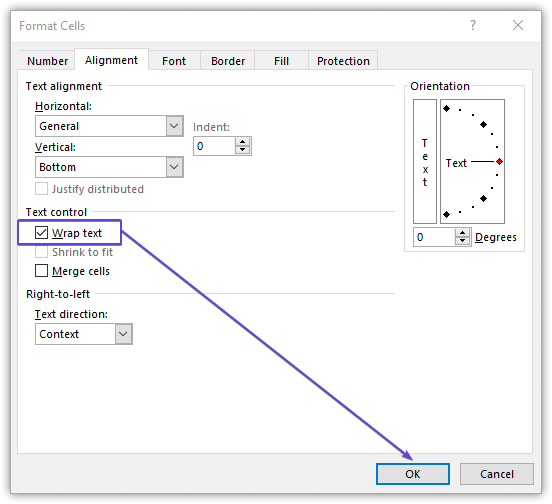
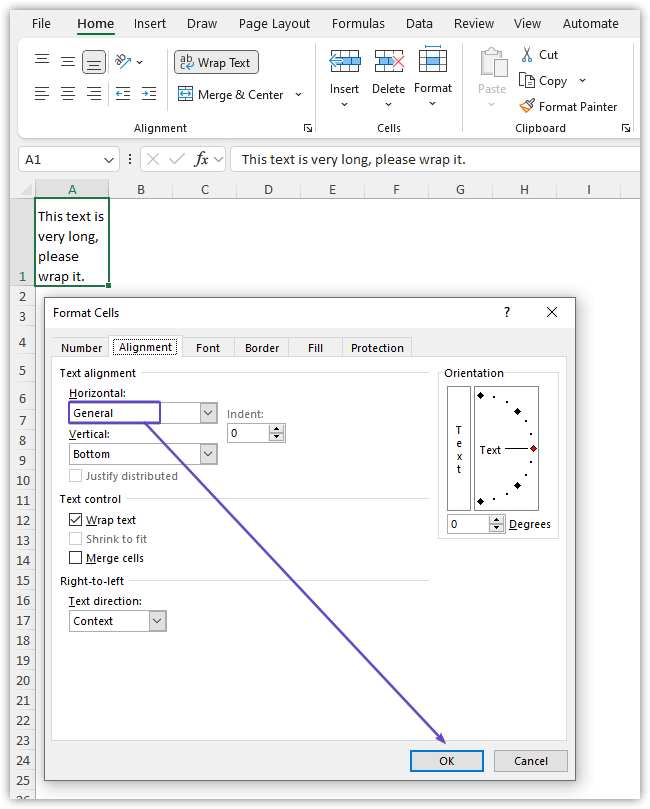
You can control and wrap your text by customizing the Format Cells dialog box. To open the Format Cells dialog box, press Ctrl + 1.
- Go to the Alignment tab.
- From the Text control option, click on the Wrap text check box to enable it.
- Click OK.
4. Add Line Break to Wrap Text Manually in Excel
You can wrap text manually by adding line breaks. By adding line breaks you can wrap your text, and you can divide the lines as you wish. Adding line breaks to your cells automatically activates the Wrap Text command. When you disable the Wrap text command after adding line breaks, the result will show in just one line. But still in the Formula bar, the lines appear with line breaks.
- To add a line break, you need to put your cell into edit mode. Press F2 or double-click or click on the Formula bar to get into edit mode.
- After getting into edit mode, place your cursor where you want to add a line break.
- Press Alt + Enter to apply the line break and wrap your text.
Excel Wrap Text Is Not Working (Reasons and Solutions)
Here, we will show you four possible reasons why wrapping text is not working.
1. AutoFit Row Height to Change Fixed Row Height
If all the wrapped text is not visible in a single cell, you might have fixed the row height. To resolve the issue, you have to the row width in the AutoFit mode. To enable it:
- Go to the Home tab.
- From the Cells group, click on the Format button.
- Select the AutoFit Row Height command.
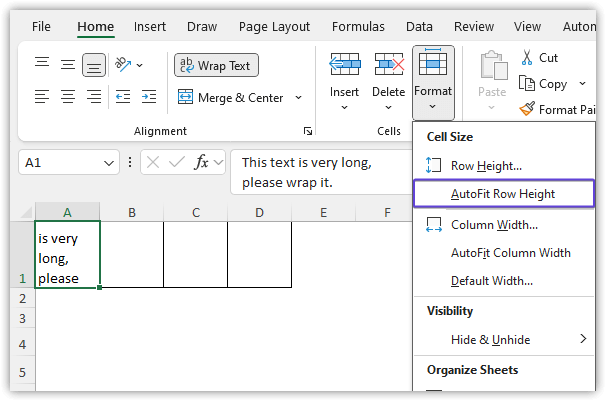
- From now on, the wrapped text will be auto-fit into a single cell.
2. Unmerge Merged Cells
Wrap Text in Excel won’t work for merged Cells. So, first, you need to unmerge the cells and then apply the Wrap Text command.
3. Narrow Cell Width
Sometimes, when a cell is really wide enough to display the full text, using the Wrap Text command doesn't seem to do anything. To make it work, just make the cell narrower by dragging the column ruler to the left.
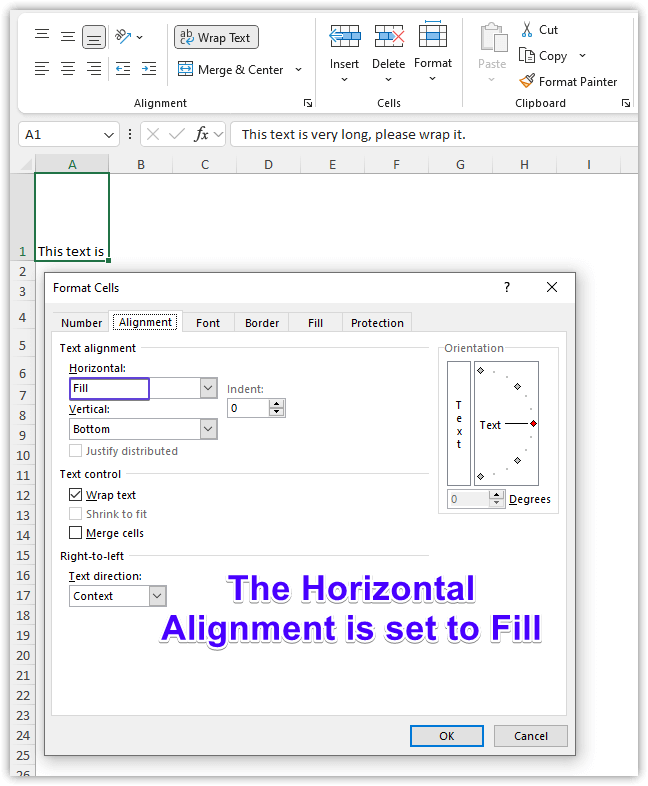
4. Change Horizontal Text Alignment General from Fill
If you want to stop text from going into the next cells, use Fill Horizontal Text Alignment. But if you apply Wrap Text for such cells, nothing will change, because it also stops text from wrapping. To fix that, change the Fill option to General. Just go to the Format Cells dialog box to see how your text is set up.
- Change the Horizontal Text Alignment into General.
These are the ways to wrap text in Excel and display the longer text in a single cell for better visualization. Thank you for reading the whole article and hope to see you in our next blog posts.